

How To Update Octoprint On Raspberry Pi
In this era of innovations, we have a three-D printer from which nosotros can impress the 3D model's design from the reckoner, in the hardware form. These iii-dimensional printers are very useful particularly for visualizing the models of different projects in the form of prototypes. At present a question arises in the mind what Octoprint is and how it is related to the above discussion of 3D press; so in this write-up nosotros volition explore the information about the OctoPrint with its installation on the Raspberry Pi iv.
What is an OctoPrint
The Octoprint is a tool that is used by and large in Raspberry Pi devices and information technology controls also as manages the printing-related tasks of the 3D printer. Information technology is an open-source tool that means anyone can access it without paying whatsoever price and tin utilise information technology to monitor the printing jobs of the 3D printer. Moreover, we can control the accessibility of the 3D printer using the OctoPrint tool and also tape the 3D printer jobs.
How the OctoPrint paradigm is burned on USB
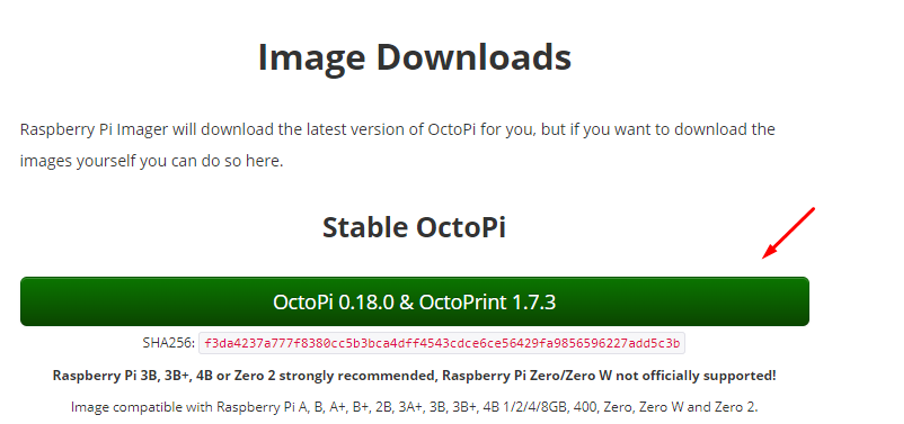
To use the OctoPrint on the Raspberry Pi board, nosotros take to download the image file of the OctoPrint from its official website and download the stable version of the OctoPrint:
Once the prototype is downloaded, nosotros tin can download the Raspberry Pi imager from its official website to burn down the image of OctoPrint either on the USB or the MicroSD bill of fare:

Launch the Raspberry Pi imager when it is downloaded successfully:
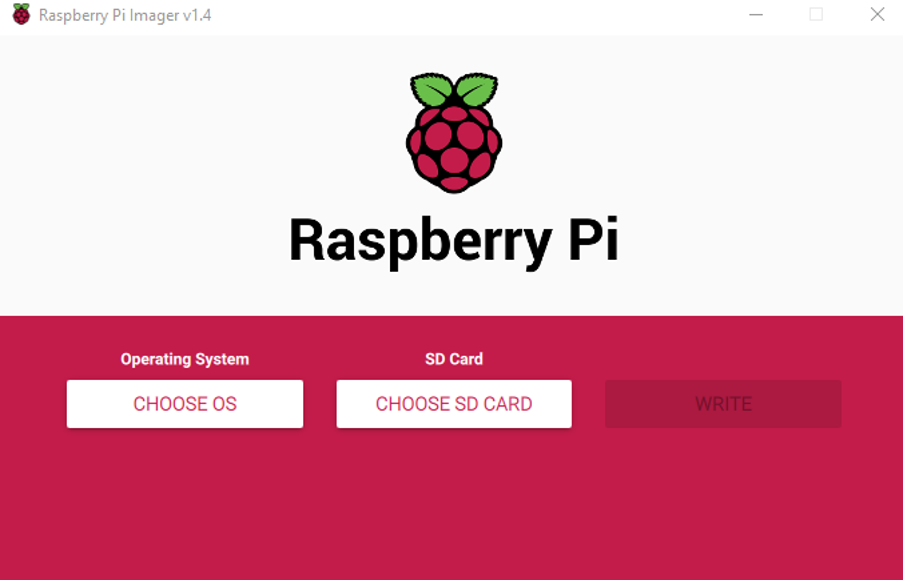
Click on the "CHOOSE Os" button and assign the path of the downloaded paradigm file of the OctoPrint:
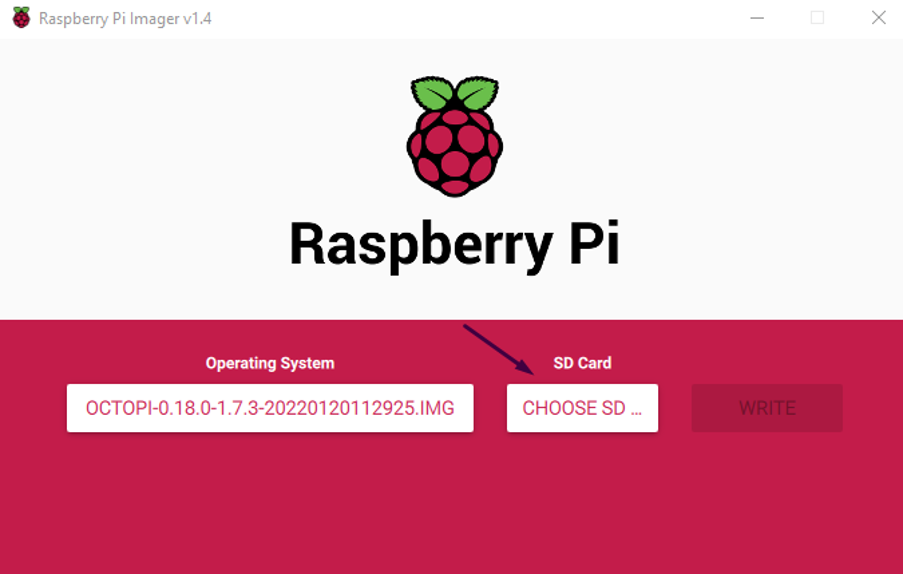
Now choose the SD card or USB on which you want to burn the image of OctoPrint and then click on the "Write" button to burn the image on the SD card/USB:

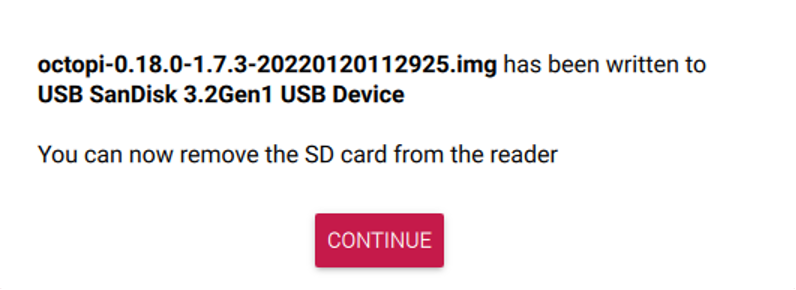
After the epitome of OctoPrint has been burnt on the SD card/ USB, a bulletin will exist displayed and click on "Proceed":
How to prepare up the OctoPrint on Raspberry Pi
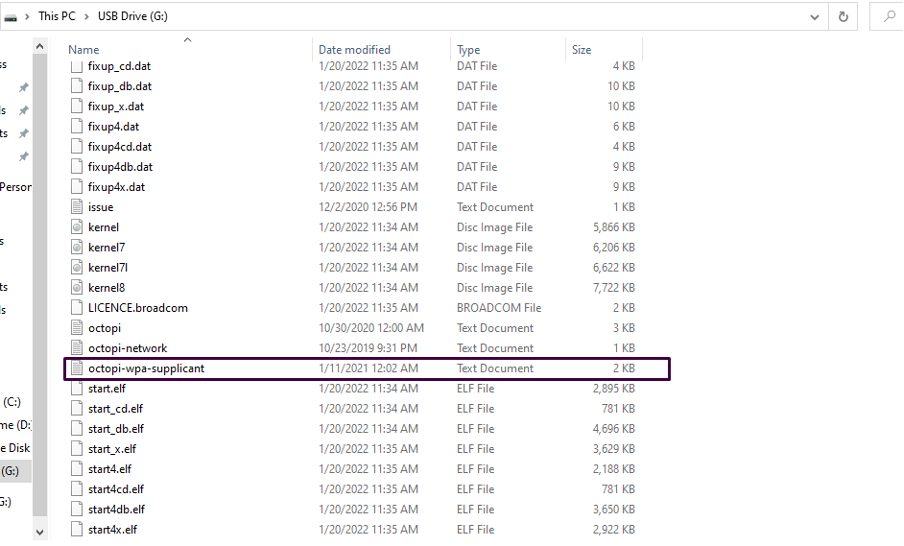
To apply the WiFi on the OctoPrint, we have to configure it, for this purpose, we volition connect the USB with the PC and find out the file with the proper name of "octopi-wpa-supplicant":
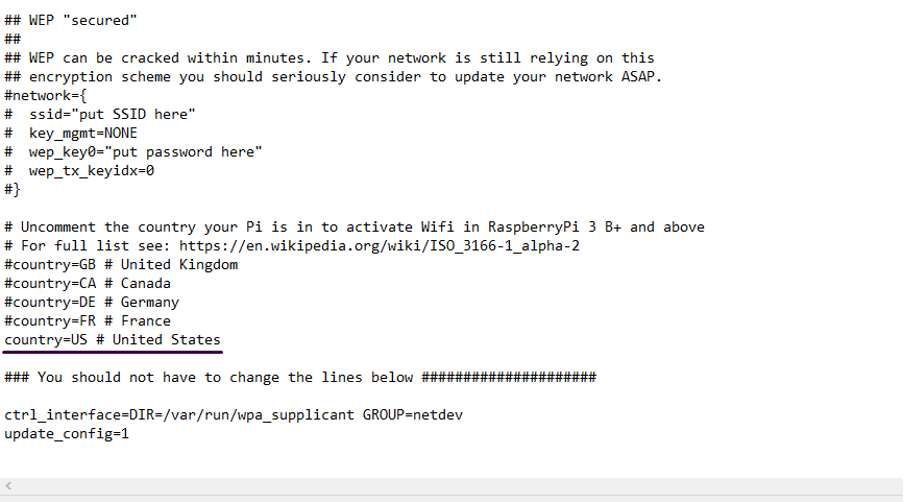
Now go to the line of "# WPA/WPA2 secured" and remove the "#", then supplant the "Put your SSID name" with the wifi proper name and "SSID countersign" with the password of your wifi router:

Roll down the folio and there will exist land names written in the file, remove the hash(#) sign of the land where you lot are using the OctoPrint, as we are living in the United States, so we will remove hash from information technology:
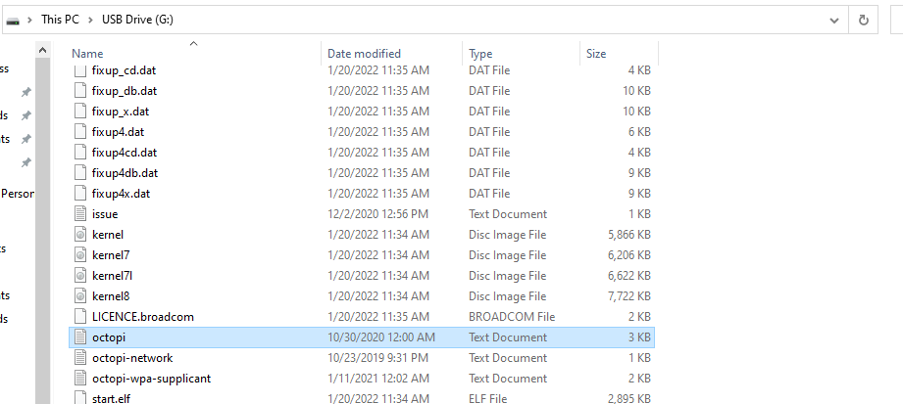
Close the file later saving the changes and to use the Webcam, open the file with the name "octopi":
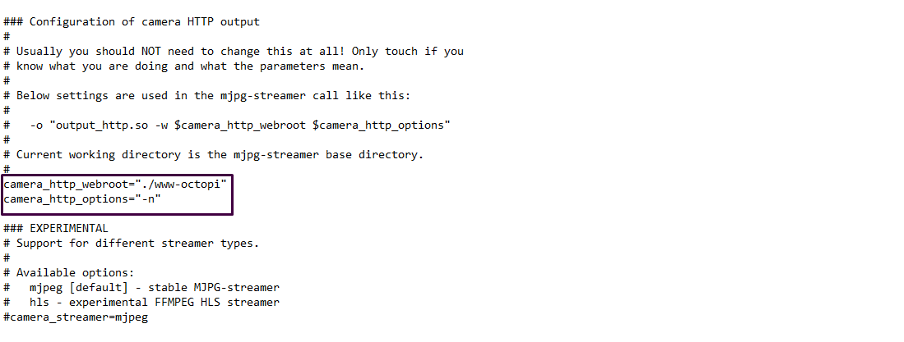
Remove the "#" from the start of line 24 of the file:

Too, remove the "#" from the mentioned ii lines in the "Configuration of camera HTTP output":
Once done salve the changes in the file and connect the SD carte /USB with the Raspberry Pi iv and connect the Raspberry Pi with your 3D printer.
Note: Subsequently booting the Raspberry Pi open up " http://octopi.local " in the browser, the Octoprint dashboard will appear: follow the onscreen instructions.
Conclusion
OctoPrint is a tool that is used to manage and control the printing jobs of the 3D printer attached to the Raspberry Pi device. We can print the 3D models of dissimilar designs to visualize the hardware prototypes of the projects. In this write-up, the method of installing the OctoPrint and its configuration on the Raspberry Pi 4 has been explained.
Nigh the author
![]()
I'chiliad an Engineering graduate and my passion for Information technology has brought me to Linux. Now here I'chiliad learning and sharing my knowledge with the world.
Source: https://linuxhint.com/install-octoprint-raspberry-pi/
Posted by: carrellpuld1960.blogspot.com
0 Response to "How To Update Octoprint On Raspberry Pi"
Post a Comment